192.168.1.1 is a commonly used IP address that is the default gateway for many home broadband routers and modems. Think of it as the “home base” for your network’s admin panel. This IP address allows us to access the router’s settings through a web browser. From there, we can manage Wi-Fi passwords, connected devices, and advanced network settings.
It’s important to note that 192.168.1.1 is part of a private IP address range, meaning it’s only accessible within a local network. This keeps it secure and ensures it cannot be reached online.
Many popular router brands like Linksys, Netgear, and TP-Link use 192.168.1.1 as their default IP address. However, not all routers use this exact IP. Some may use 192.168.0.1 or even 10.0.0.1. If 192.168.1.1 doesn’t work for your router, it’s a good idea to check the label on the device or consult its manual to find the correct IP address.
How to Login to 192.168.1.1?
Accessing your router’s admin panel through 192.168.1.1 is a straightforward process. This allows us to manage our network settings, such as changing the Wi-Fi password or setting up security features. Here’s a simple step-by-step guide:
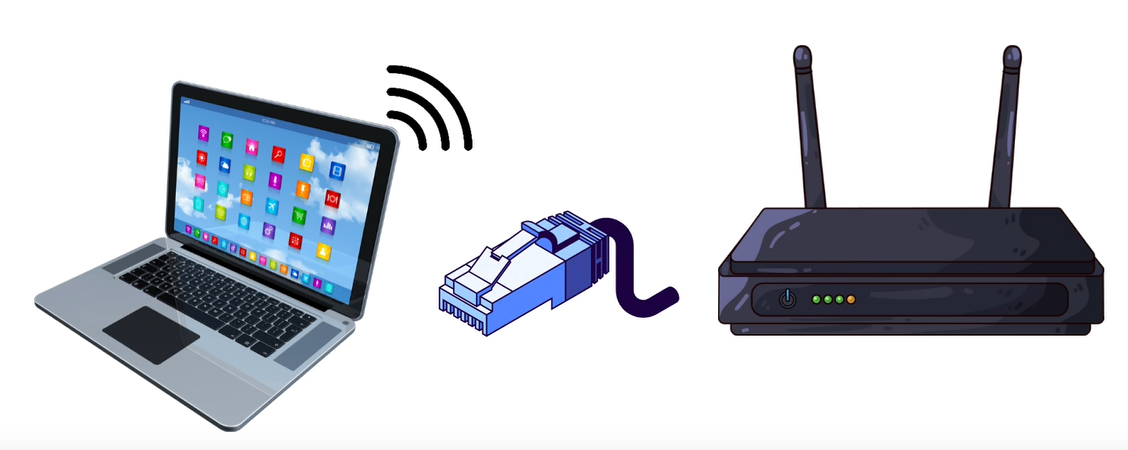
- Connect to Your Network: Make sure the device you’re using, like a laptop or smartphone, is connected to your router’s network. This can be done through Wi-Fi or a wired Ethernet connection.
- Open a Web Browser: Launch any web browser, such as Chrome, Firefox, Edge, or Safari. In the browser’s address bar (not the search bar), type
http://192.168.1.1and press Enter. - Enter Your Login Credentials: On the login page, enter the router’s username and password. Most routers use default credentials like
admin/adminoradmin/password, which are provided in the user manual or printed on a label on the router. - Access the Admin Panel: Once logged in, you’ll gain access to the router’s admin panel. From here, we can manage settings like Wi-Fi name (SSID), password, security protocols, and connected devices.
- Troubleshooting Tips:
- If the login page doesn’t load, ensure you’ve entered the IP address correctly.
- Check that your device is connected to the router.
- If you still can’t access the page, the router’s IP address may be different (e.g., 192.168.0.1 or 10.0.0.1). Check the label or manual for details.
Router Username and Password List
When we access our router’s admin panel using 192.168.1.1, we need a username and password to log in. Most routers come with default credentials set by the manufacturer. These are usually printed on a label on the router itself or mentioned in the user manual. Here’s a list of common router brands and their default usernames and passwords:
| Router Brand | Default Username | Default Password |
|---|---|---|
| Linksys | admin | admin |
| Netgear | admin | password |
| TP-Link | admin | admin |
| D-Link | admin | admin |
| ASUS | admin | admin |
| Cisco | admin | admin |
| Belkin | admin | password |
| Huawei | admin | admin |
If the default username and password don’t work, it may be because they’ve been changed. To restore them, try resetting the router to factory settings by pressing and holding the reset button for 10-30 seconds.
How to Find Your Router’s IP Address
Finding our router’s IP address is essential for accessing the admin panel and managing network settings. Here’s how we can locate it on different devices:
- On Windows: Open Command Prompt, type
ipconfig, and look for “Default Gateway.” - On macOS: Go to System Preferences > Network > Advanced > TCP/IP, and check the “Router” field.
- On iPhone/iPad: Go to Settings > Wi-Fi, tap the “i” next to the network, and look for “Router.”
- On Android: Open Settings > Wi-Fi, tap the gear icon for the network, and look for “Gateway” or “Router.”
If none of these methods work, check the label on the router itself, where the default IP address is often printed.
How to Configure Your Router?
Configuring our router allows us to personalize our network and improve security. Here’s a step-by-step guide:
- Access the Admin Panel: Connect to the router, open a browser, type
http://192.168.1.1, and log in with your credentials. - Change the Wi-Fi Name: Navigate to the Wireless Settings section, find the SSID field, and enter a new name.
- Update the Wi-Fi Password: In the same section, create a strong password and save the changes.
- Configure Security Settings: Select WPA2 or WPA3 as the encryption type in the Security Settings section.
- Optional Settings: Set up parental controls or enable a guest network for added functionality.
After making changes, remember to save and reboot the router to apply the new settings. This ensures that our network remains secure and tailored to our needs.